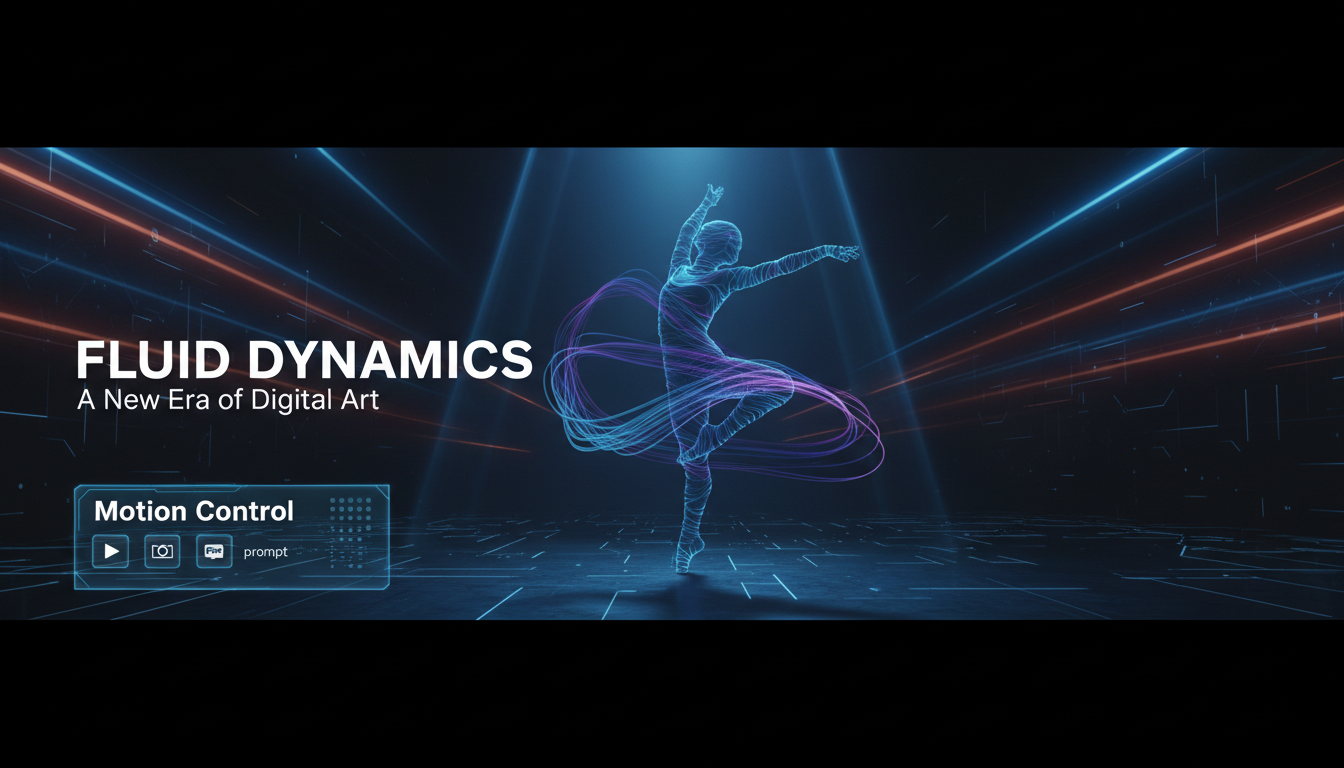
Dance videos are the ultimate stress test for AI motion.
A good dance clip needs timing, clean limb movement, consistent identity, and camera framing that doesn’t turn hands into spaghetti. If you’ve tried a generic AI dance video generator before, you’ve probably seen the common fails: foot sliding, jittery faces, warped fingers, or a dancer who forgets how elbows work.
That’s why motion control matters. With Kling motion control on AIFacefy, you’re not asking the model to “invent” choreography. You’re giving it a real motion reference (a short dance clip) and telling it: make my subject follow this movement.
This guide is a practical and simple Kling motion control dance tutorial you can follow in one sitting—plus a few shortcuts that help you publish to TikTok, Reels, and Shorts without endless rerolls.
What Kling Motion Control Is (In One Sentence)
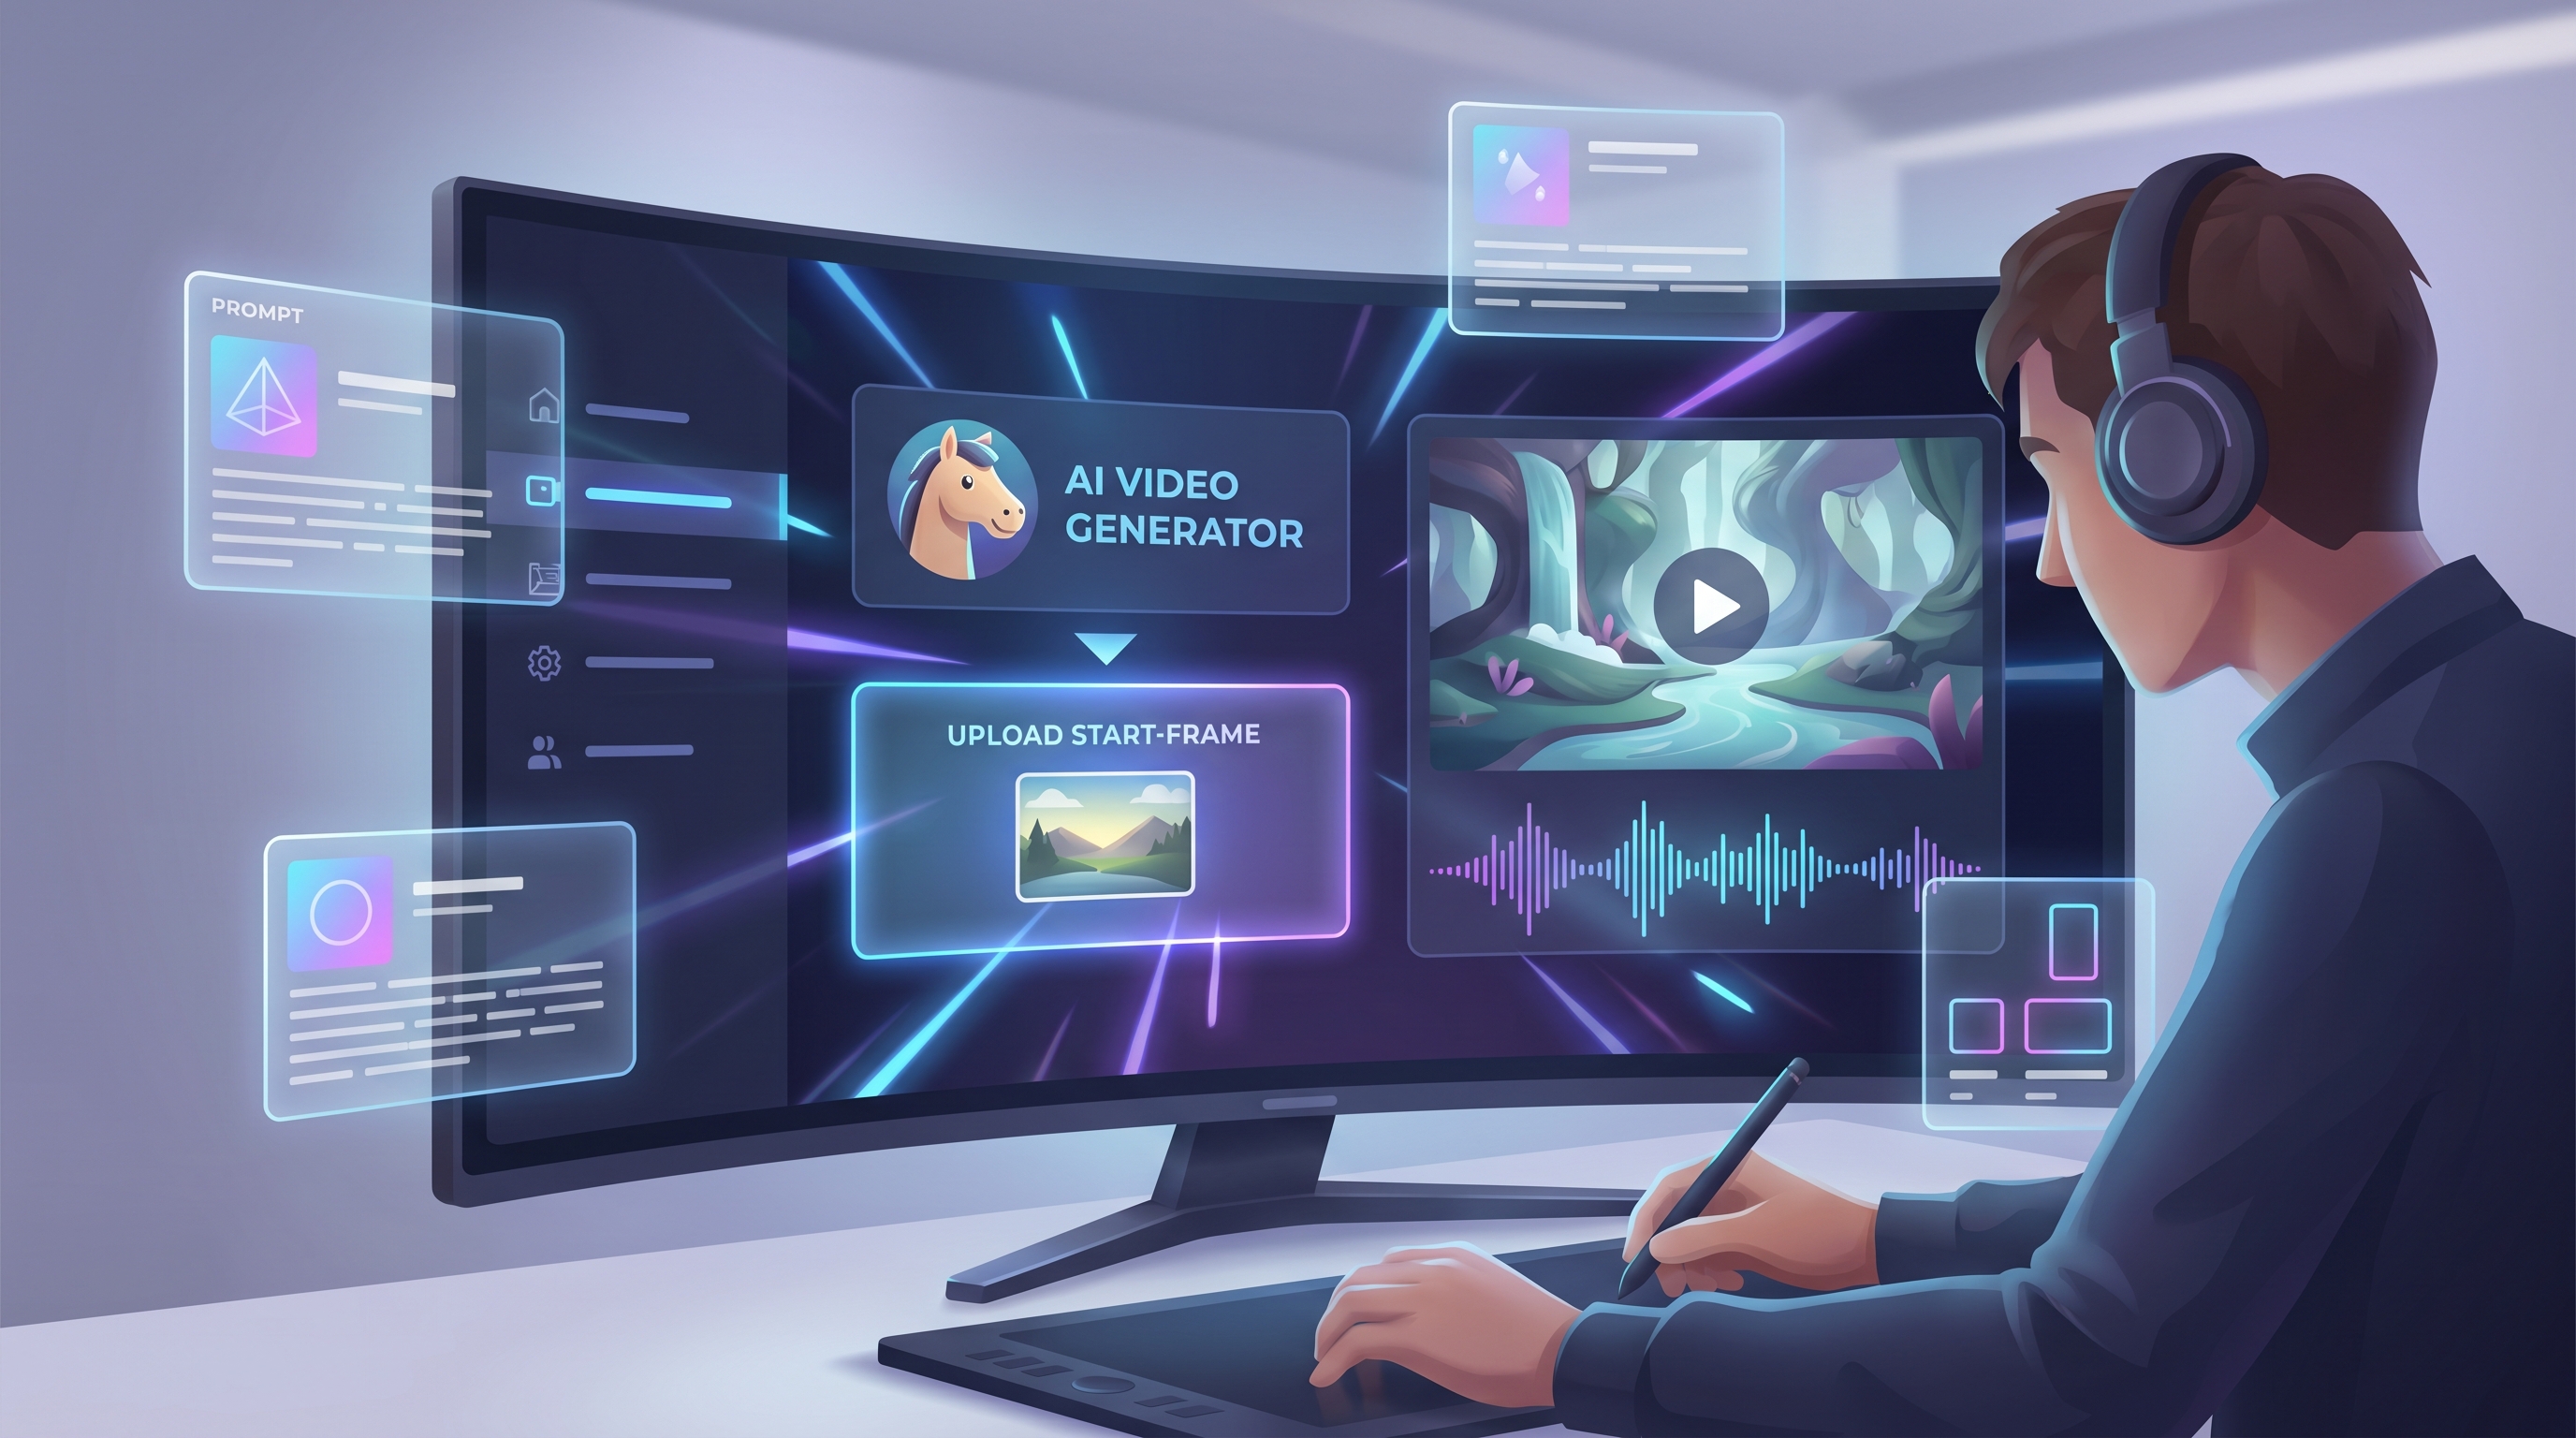
Kling AI motion control is a workflow that combines:
- a motion video (the dance moves),
- a subject image (the character who will dance), and
- a prompt (style, outfit, camera vibes).
The result is a share-ready AI dance video where your subject follows the choreography from the uploaded motion clip.
Think of it like this: the video teaches the body how to move; your image defines who the dancer is; your prompt defines the look.
What You Need Before You Start
1) A motion reference video (3–30 seconds)
Pick a clip that makes the model’s job easy:
- Full body visible (hands and feet should stay in frame)
- Minimal motion blur
- Stable camera (no frantic zooming for your first run)
- Clean lighting (avoid harsh backlight silhouettes)
Beginner-friendly dance choices: simple 8-count loops, shuffle steps, easy K-pop chorus moves, or a short hip-hop groove. You can get fancy later.
2) A subject image (your dancer)
Your subject image should be:
- sharp, well-lit, and not heavily filtered
- with a clear face (if you want identity consistency)
- with a readable silhouette (outfit shape matters)
Quick win: avoid super-busy patterns (tiny stripes, glitter textures). They often “melt” during motion.
3) Your target platform: TikTok / Reels / Shorts
Decide early, because it affects framing and pacing.
- Vertical 9:16 is the safest default.
- If you’re aiming for Reels or Shorts, plan a punchy first second.
Step‑by‑Step: How to Make an AI Dance Video With Kling (AIFacefy Workflow)
This section is the exact workflow—no fluff.
Step 1 — Open Kling Motion Control on AIFacefy
Go here: https://aifacefy.com/model/kling-motion-control/
You’ll see a simple panel:
- a version selector
- a Video upload area (motion reference)
- an Image Upload area (your subject)
- a prompt box (with “Translate” and “Optimize Prompt”)
- a Generate button
Step 2 — Upload your dance motion video
Upload a short clip first (6–10 seconds is perfect).
If your output looks messy, the fastest fixes are:
- shorten the clip
- choose a cleaner reference (better lighting, less blur)
- ensure the dancer stays centered in frame
Step 3 — Upload your subject image
This is where identity consistency starts.
If your dancer’s face changes between frames, try:
- swapping to a clearer, front-facing photo
- using a photo with softer lighting (less harsh shadow)
- keeping hair and outfit simple in early tests
Step 4 — Write a motion-friendly prompt (don’t describe choreography)
Your prompt should focus on:
- visual style (realistic / anime / cinematic / neon)
- outfit and vibe
- camera framing (vertical, mid-shot, full-body)
- background environment
The choreography comes from the uploaded motion video—so you don’t need to write “do a spin then a body wave.”
This is the heart of AI dance video with motion control prompts: keep the prompt about look, not moves.
Step 5 — Use Translate and Optimize Prompt (optional, but handy)
- Translate is useful if you write prompts in your native language.
- Optimize Prompt helps when your first output is “close but not quite”—like wrong vibe, messy outfit textures, or background distortion.
Step 6 — Generate, review, and iterate like a creator
On your first pass, check for:
- Foot sliding: feet drifting like they’re on ice
- Hand warping: fingers bending unnaturally
- Face jitter: identity wobble
- Outfit melting: straps and patterns deforming
Then iterate in this order (fastest wins first):
- shorten the motion clip
- swap to a clearer subject image
- simplify the prompt style
- re-generate
That’s the simplest answer to How to make an AI dance video with Kling: start short, stay clean, iterate quickly.
Copy‑Paste Prompt Templates (Motion-Control Friendly)
Use these as a starting point, then customize.
Template A — Clean realistic studio (great first test)
Full-body dancer, modern streetwear, clean studio background, soft even lighting, sharp details, smooth motion, vertical 9:16, cinematic clarity.
Template B — Stylized anime dance clip
Anime style dancer, vibrant cel shading, clean outlines, smooth motion, stage lighting, energetic performance, full body in frame, vertical 9:16.
Template C — TikTok vibe (trend-ready)
This is the easiest way to Make a TikTok-style AI dance video using Kling:
Vertical 9:16, handheld phone vibe, cozy room or neon studio, trendy outfit, high energy, crisp face, smooth body motion, social-media aesthetic.
Template D — Concert stage performance
Live concert stage, spotlight, subtle fog, bokeh crowd lights, dynamic performance energy, sharp details, full-body framing, cinematic stage vibe, vertical 9:16.
How to Create Dance Choreography With Kling Motion Control (Without Being a Dancer)
Here’s the secret: with motion control, “creating choreography” mostly means choosing or recording a better motion reference.
To Create dance choreography with Kling motion control, try one of these:
- Record yourself doing a simple 8-count loop (even basic moves look great if they’re clean).
- Record a friend who can dance (stable camera, full body in frame).
- Use footage you own or have rights to (always respect licensing).
Choreography readability tips:
- keep hands away from the face during fast sequences (reduces warping)
- avoid heavy spins for your first few tests
- keep the dancer centered and not too far from the camera
Troubleshooting: Fix the 7 Most Common Dance Video Problems
1) Face flicker / identity drift
- Use a clearer subject image
- Add prompt cues like “consistent identity” or “same face”
2) Warped hands
- Pick a cleaner motion clip (less blur)
- Avoid motion references where hands cover the face repeatedly
3) Foot sliding
- Choose a reference where feet are visible and grounded
- Shorten the clip and keep the camera stable
4) Outfit melting
- Remove tiny patterns and shiny micro-textures
- Start with simple clothing silhouettes
5) Background distortion
- Prompt for “clean background” or “studio backdrop”
- Avoid crowded reference videos with overlapping bodies
6) Too much camera wobble
- Use a stable reference clip first
- Save handheld chaos for after you’ve nailed basics
7) Wrong vibe (looks nothing like what you imagined)
- Adjust prompt style descriptors (realistic / anime / cinematic)
- Keep the prompt short and decisive
Export Strategy: Reels, TikTok, and YouTube Shorts
You can post the same dance clip everywhere, but each platform rewards a slightly different “feel.”
Reels-first workflow
If you want your post to feel like a polished reel, think like an AI dance reel generator workflow:
- Clean framing (full body visible)
- Smooth lighting
- A satisfying loop ending (end on a stable pose)
Shorts-first workflow
For Shorts, punchier is better—treat it like an AI dance YouTube Shorts generator workflow:
- Strong first second (start mid-move)
- Less background clutter
- Tight framing if the choreography is simple
Quick audio tip so the dance feels “on beat”
Match the motion clip’s timing first, then pick audio that aligns. If the beat is off, even perfect motion looks wrong.
Why Use AIFacefy Beyond Kling Motion Control (A Full Short‑Video Tool Stack)
Once you’ve nailed motion control, you can build a whole short-form pipeline on AIFacefy:
- Photo to Video (fast “animate this image” content): https://aifacefy.com/photo-to-video/
- Image to Video (stylized motion from a single image): https://aifacefy.com/image-to-video/
- Video to Video (turn your dance into anime/CG/art styles): https://aifacefy.com/video-to-video/
- Text to Video (intros, teasers, B-roll): https://aifacefy.com/text-to-video/
- AI Face Dance Video (face-driven dance content): https://aifacefy.com/ai-face-dance-video/
- Change Facial Expression (make your dancer smile/wink more naturally): https://aifacefy.com/change-facial-expression/
- AI Handshake Video (fun collab transitions): https://aifacefy.com/ai-handshake-video/
If your goal is consistent content output (not just one viral clip), this “hub” approach saves time because you don’t have to bounce between tools.
Mini Recap + Your Next 10 Minutes
If you want the simplest path to a clean first result:
- Pick a 6–10 second motion reference
- Upload a clear subject image
- Use a short prompt that describes style + camera
- Generate once, then iterate by shortening the clip or simplifying the look
That’s it. Start clean, get one solid result, then experiment with more aggressive choreography and wild styles.
And if you only remember one line: motion control works best when you let the video handle the dance, and you use the prompt to lock the vibe.